top of page
Multimedia Teaching Project
Sewing 101: Felt Food
This project will guide you through the process of sewing your own felt food plushie. We will start with the basics, like learning how to sew, then dive into designing and creating our own felt food plushies.
Before we start, please download and print the following resources:
OK! Let's begin.
Follow each project step below & check them off on your checklist as you complete them.
Step 1: Set up
Make sure you have your checklist printed and the two sewing practice worksheets printed.
Next, gather your sewing practice materials:
4 pieces of 6"x4" felt (different colors)
embroidery floss (contrasting color to your felt)
scissors
sewing needle
Step 2: Learn about textiles
Watch this video to learn about how textile products are made:
Step 3: Learn how to sew
Watch this Sewing 101 video to learn how to set up to sew and how to do two sewing stitches:
As you watch, please complete the printed sewing worksheets when directed to in the video.
Once both of your printed worksheets are complete, you can now practice your stitches on felt like I showed in the video. Start with the running stitch:
Take 2 pieces of your practice felt sheets and sandwich them together, then stitch along one side with running stitch. Follow along with the video for guidance.
Next, you'll do the same thing, but with whip stitch:
Take 2 pieces of your practice felt sheets and sandwich them together, then stitch along one side with whip stitch. Follow along with the video for guidance.
Once you're done you will have two sewn felt pieces: one with running stitch & one with whip stitch. Like this:

Step 4: Felt food project set up
Please view this introduction slideshow to learn about our project:
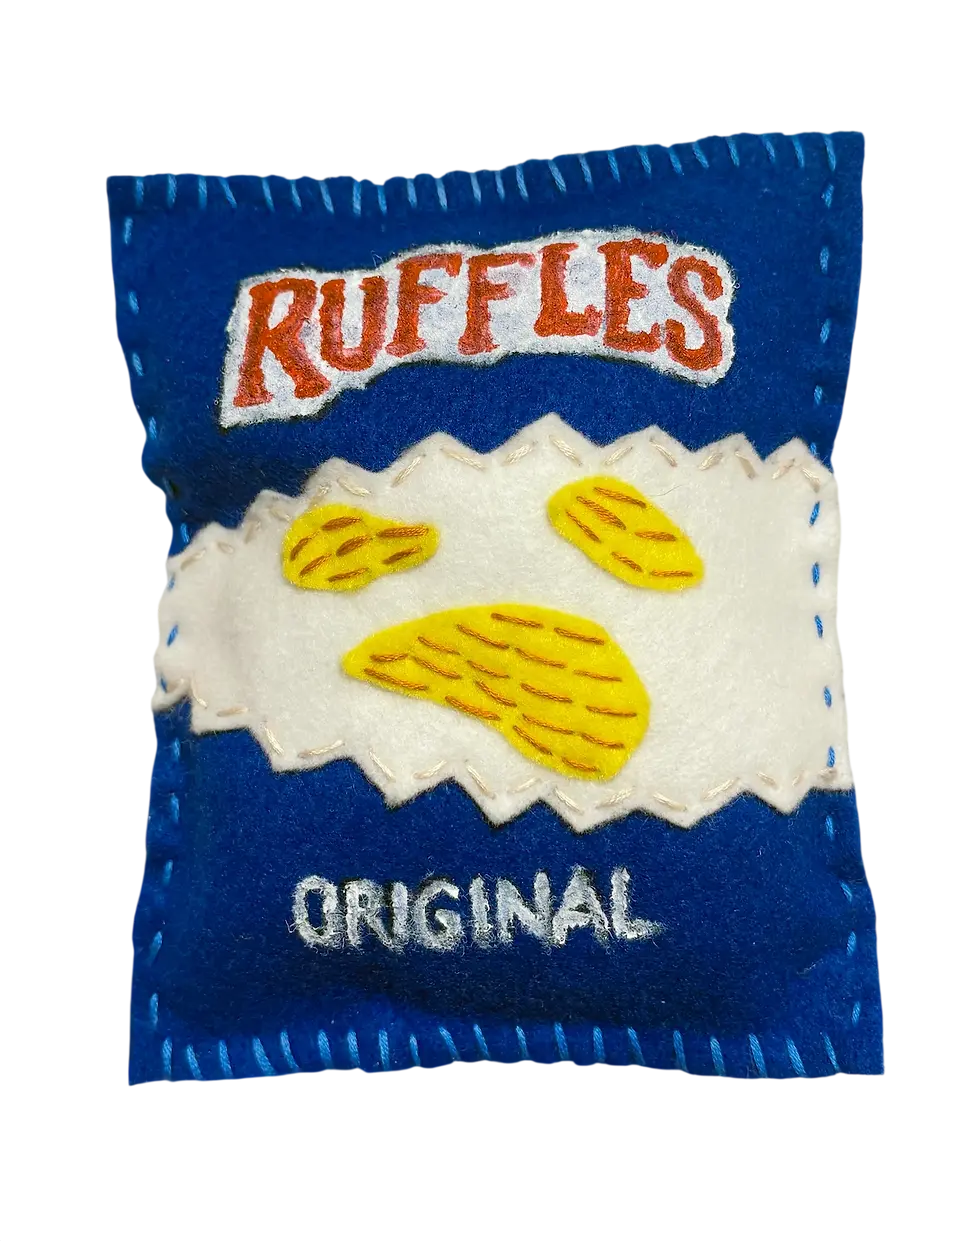
Today we are designing and sewing our own felt food plushies!
Felt Food Project


Get Inspired!
Artist Highlight: Lucy Sparrow
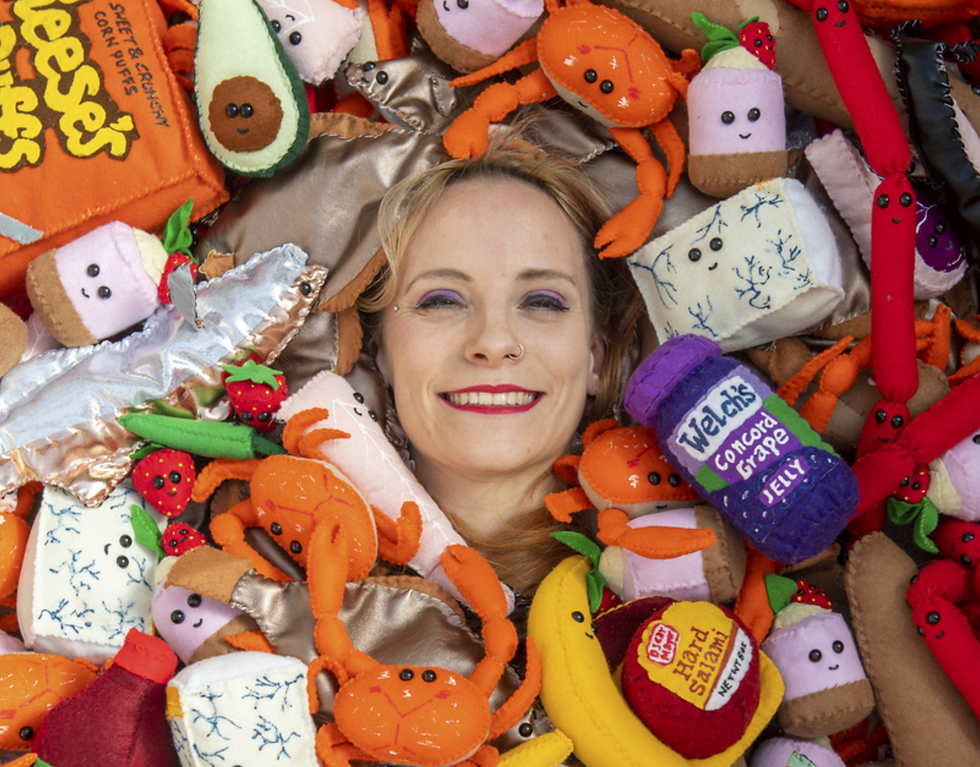
Lucy Sparrow is a British artist known for creating life-sized felt sculptures of everyday objects. Her colorful, hand-sewn installations celebrate craftsmanship and transform ordinary spaces into playful works of art.
Artist Highlight: Lucy Sparrow

She is known for creating entire grocery stores out of felt


Once you have printed/drawn your food reference image, please gather all your materials:
Felt food project materials:
Felt (sizes & colors to match your food design)
Embroidery Thread (colors to match your food design)
Scissors
Sewing Needle
Glue
Acrylic Paint (colors for your food design details/text)
Palette
Detail Paint Brushes
Stuffing
Step 5: Make your felt food
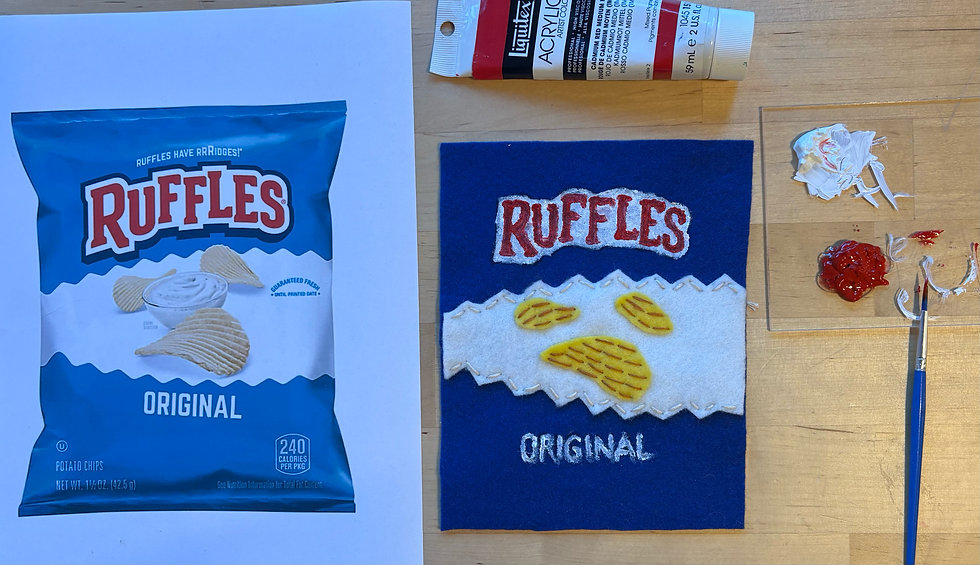
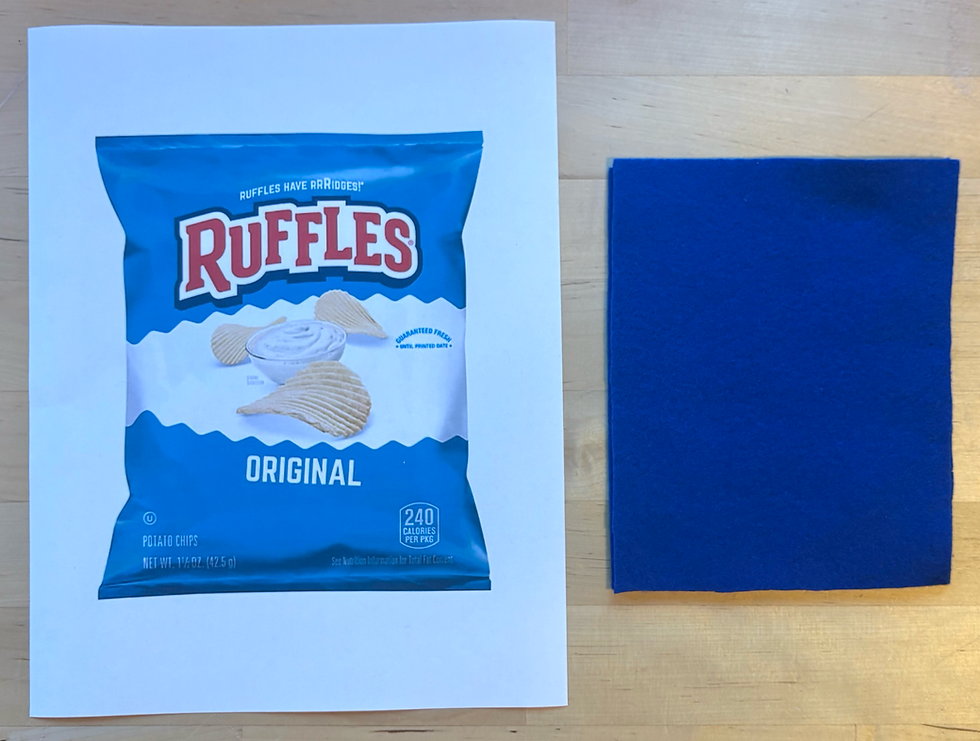
Follow along below as I show the steps to create a felt food object. For this demo I will be making a Ruffles chip bag. As you make your felt food, make sure to follow your checklist steps.
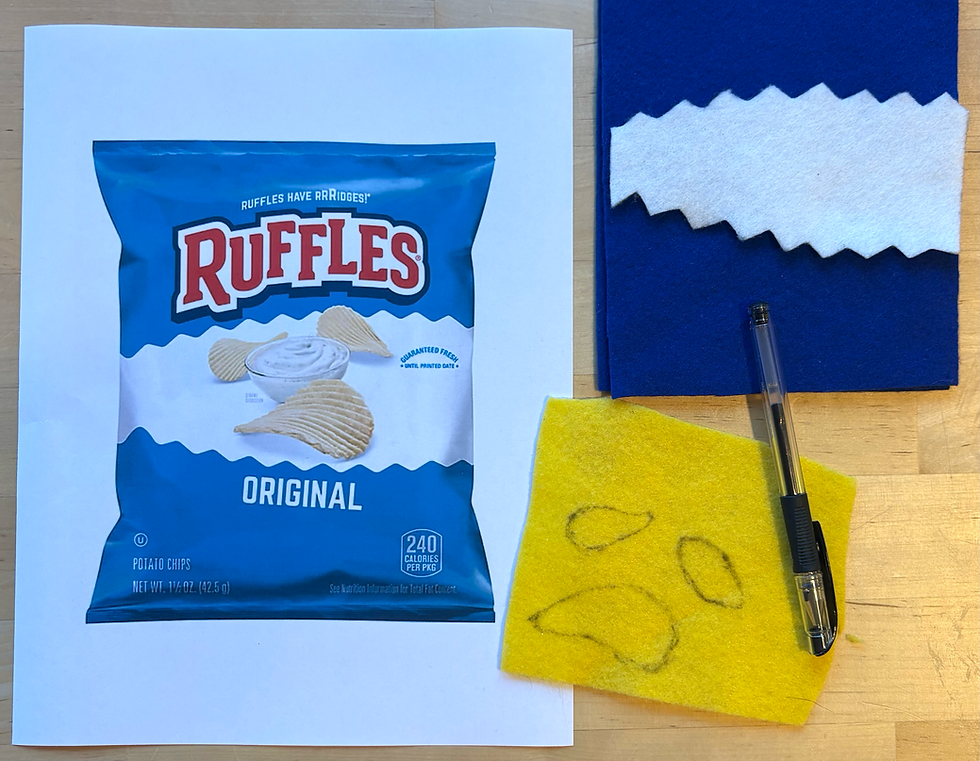
First we will cut all our felt pieces to make our food object.
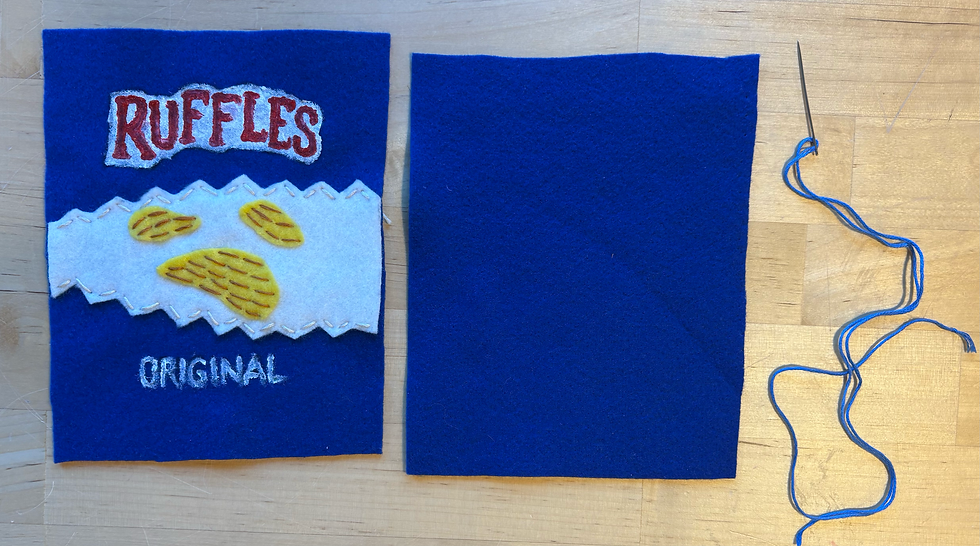
Make sure you have 2 main felt pieces for the front and back panels (for my chip bag, they are blue):
Then, draw and cut out all the smaller felt details for the design on the front (for my chip bag, I made the white squiggle area and the 3 chips):
Pro tip:
Your reference food might be very complicated and have lots of design details, so you must simplify it! Think about what parts of the food design are most important to show what it is.
Pick 2-3 shapes for the felt details, and 2-3 shapes/words for the painted details.
Next, we will attach our felt details onto the front panel of our food object.
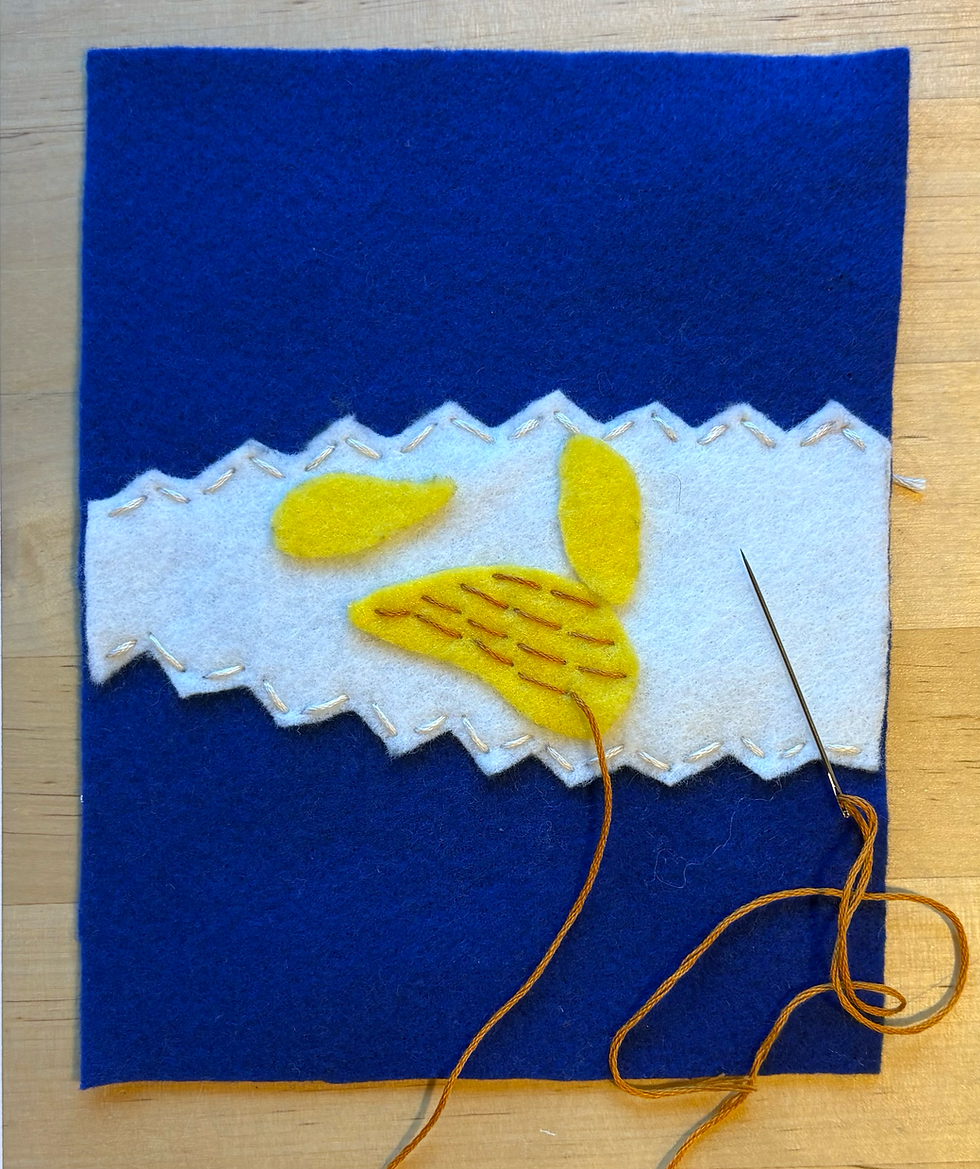
Using the stitches you learned, sew the felt detail pieces onto the front base panel (for my white squiggle area I chose to use running stitch along the edges in a matching thread color):

Pro tips:
For smaller felt pieces it is helpful to use a tiny dot of glue to keep it in place while you sew.
You can also use different thread colors to add details, or different stitch types to add texture. (for my chips I used a darker thread and a long running stitch in rows to create the ruffle texture):

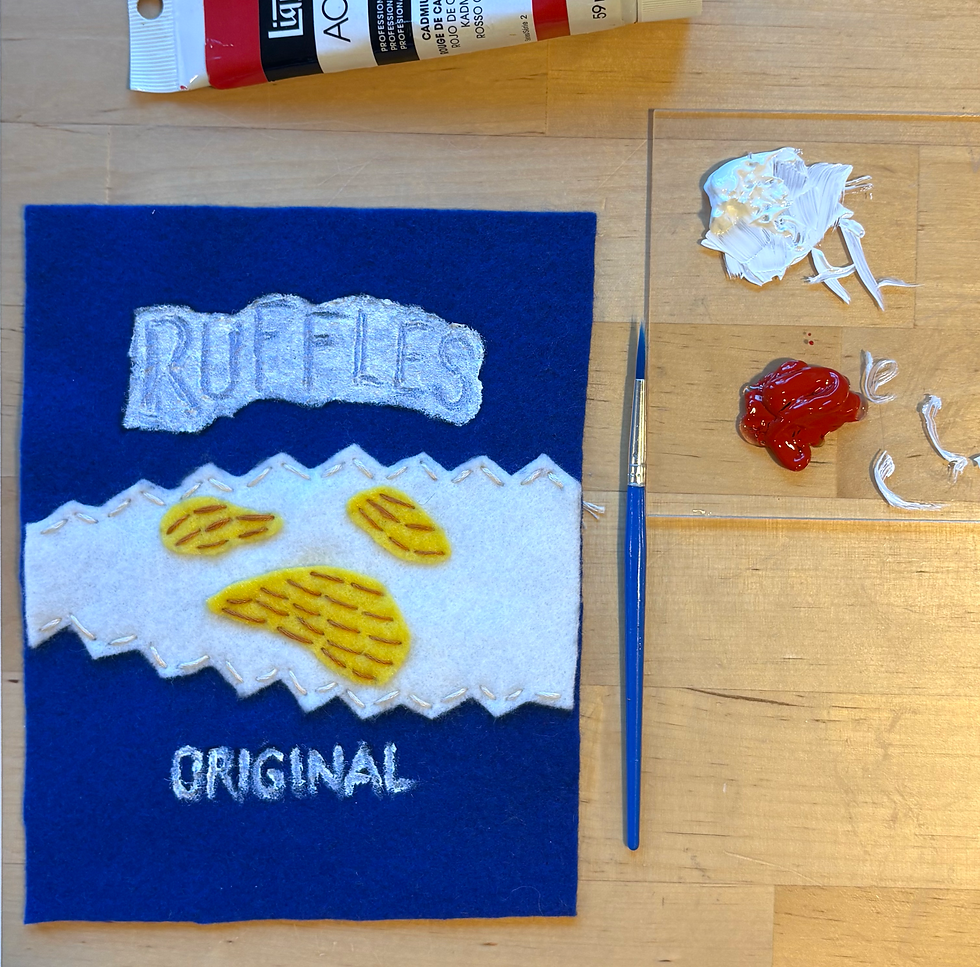
Next, we will paint on details, like text, with acrylic paint.
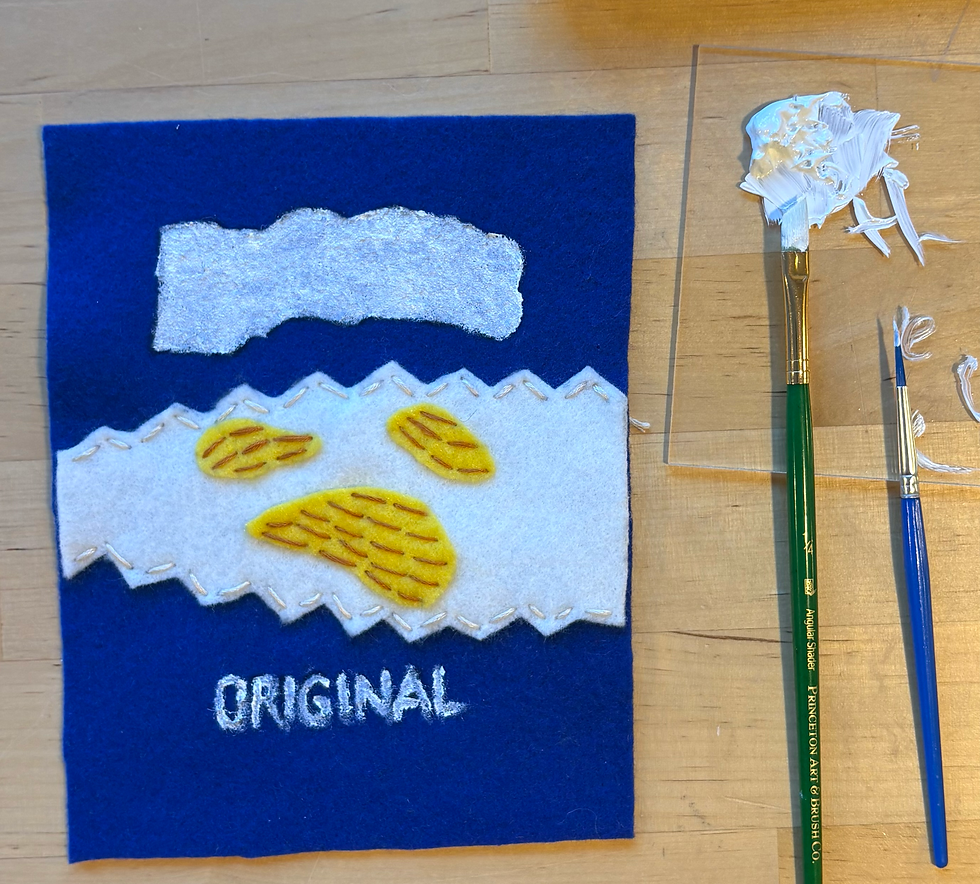
First, sketch out the shapes or words you will be painting onto the front felt panel. (for my chip bag, I am painting the Ruffles logo and the word "original"):
Pro tip reminder:
Your reference food might be very complicated and have lots of design details, so you must simplify it! Pick just 2-3 essential shapes/words for the painted details.
Next, using your acrylic paint, detail brushes, and palette, you will paint in your drawn details.
Pro tip:
You may need to layer paint colors so make sure every layer fully dries before applying the next!
Once the paint is dry, we are ready to sew our main panels together.
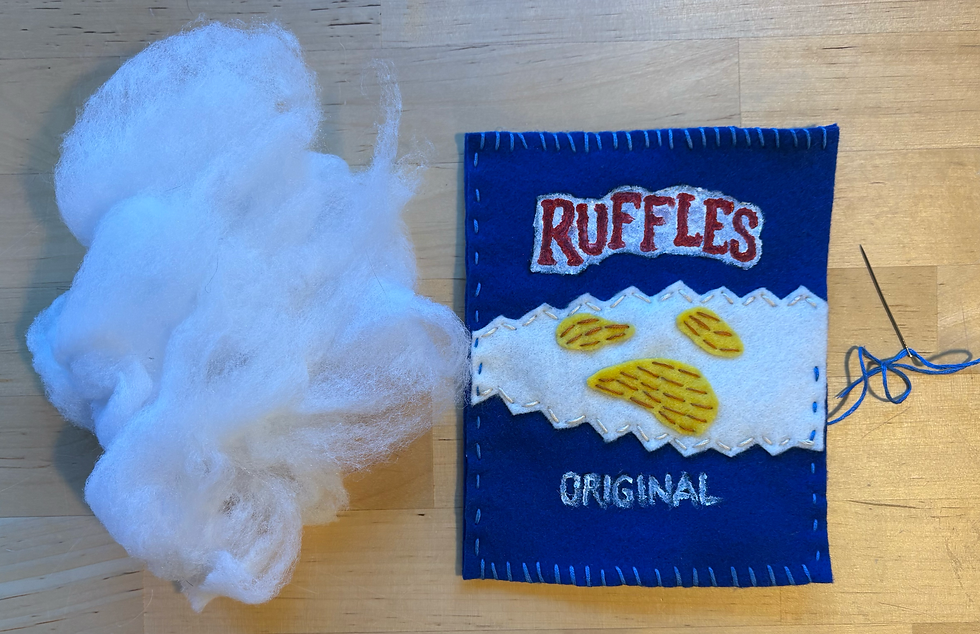
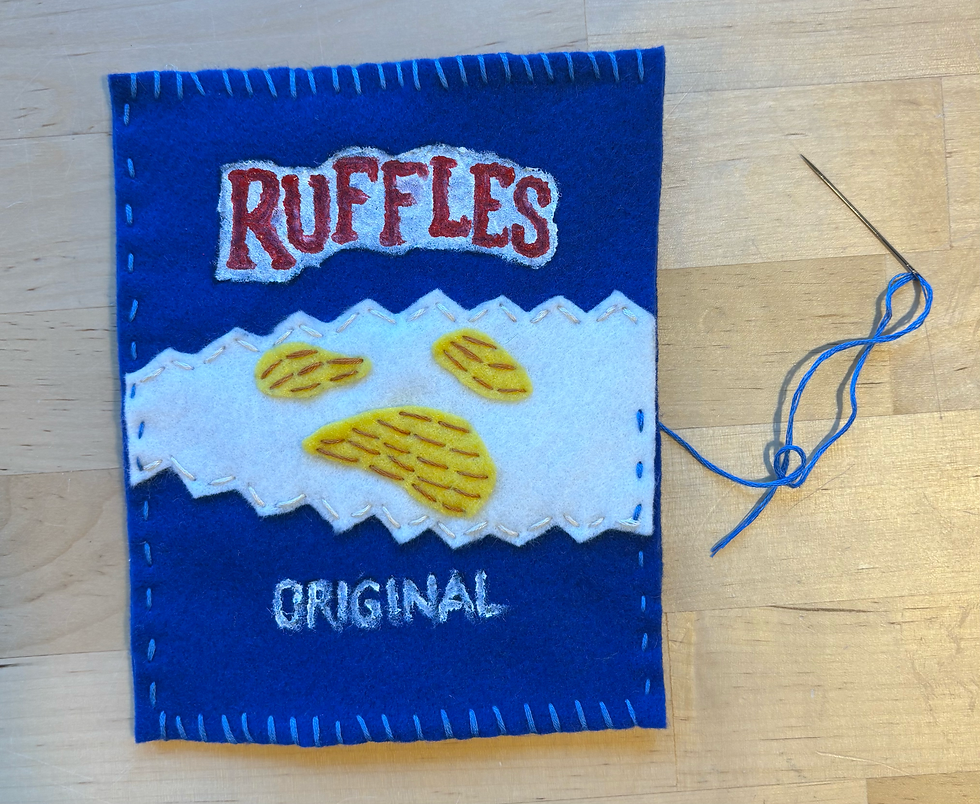
Sandwich the front panel and the back panel together, then using your stitch of choice sew around the edges, attaching the two panels together. This will make it into a fillable form.
Important: Don't fully sew it closed! You need to leave a 3" gap in order to be able to fill it with stuffing. We will then finish sewing it closed after it is stuffed.
For my chip bag, I chose to do whip stitch along the top and bottom edges, and then running stitch along the sides:
I stopped when there was a 3" gap left along my last stitched side:
The final step is to fill the form with stuffing, then sew it closed.
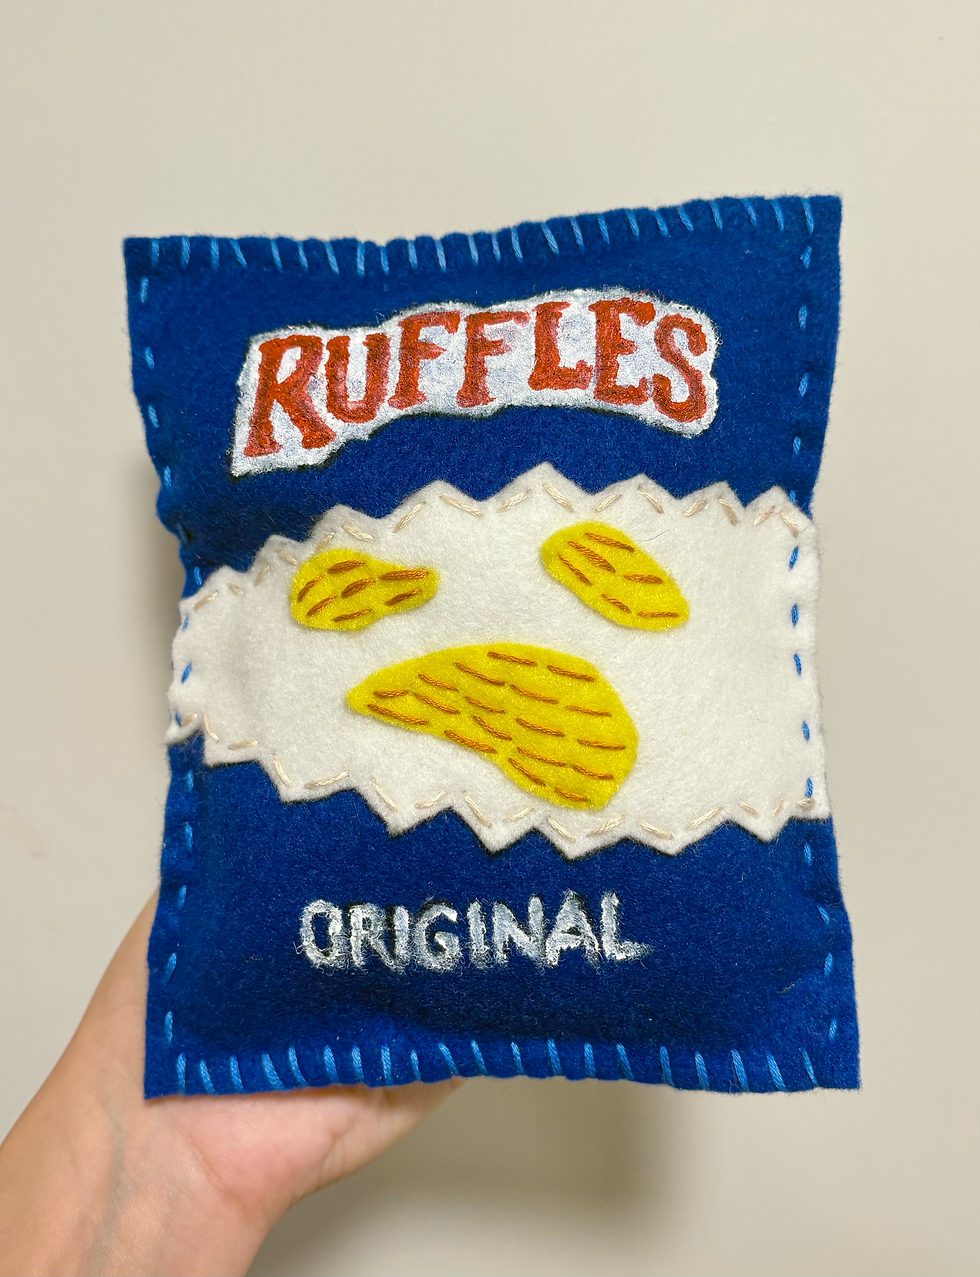
Fill your object with stuffing through the 3" open gap. You can add as much or as little as you like. Once filled, then you will finish stitching the edge, completely closing the gap.
Congrats, your hand-sewn felt food plushie is complete!











bottom of page